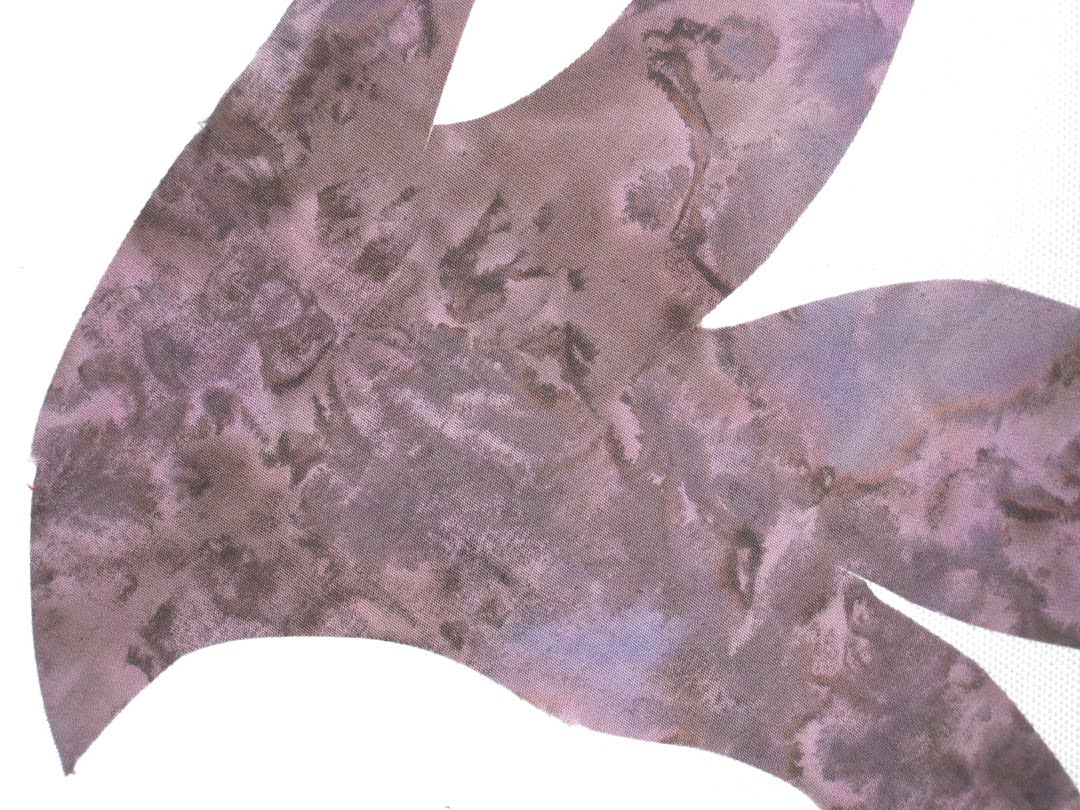
I've been stitching like a woman possessed in every free moment over the last few weeks and have got all the bits securely in place. Now I'm faced with a decision: to outline stitch or not . . . I think the only way to decide is to do a little and see if it adds enough punch to the piece to make it worthwhile to spend the extra time - weeks - to complete a Step 5. I'll post some photos of the area I outline in a few days, and you can let me know your opinion.
 Looks like I've disappeared off the blog but I have been hand stitching away. I was in San Jose, CA, for an Art Cloth Network meeting (check out our new blog at ArtClothNetwork.blogspot.com over the next month or so to see work by some talented fiber artists) and am off to Philadelphia for a wedding over the next five days, so progress has been slower than ideal. But I have stitched about 50% of those gloriously colorful bits in place and will finish the rest when I return so STAY TUNED!

 I am quite satisfied that the piece flows well at this point. I may add a bit here and there, but the applique is essentially done. Now I need to decide how to hold it to the batting and back. Options: machine quilt (I will definitely NOT do this as the stitches would interrupt and distract from the movement of the pattern as they are mechanical, too even and not organic looking); use the embellisher - dry felting machine (this is often the best solution as it is almost invisible and fast - I in fact have already done a bit of this around some of the outer edges to secure a few of the larger pieces, but I don't want to use it on some of the smallest, most delicate pieces as they will start to break down and I want a crisp look); or hand stitch. When in doubt I always choose to quilt by hand, and that is what I will do here. First, I love doing it. Second, there is complete control of the stitches themselves - they can be invisible, evenly placed, of any length, or even complex embroidery stitches, and add a whole new aspect to the design.

 Once I've selected a general color palette it's time to prepare bits for use. This requires ironing, a lot of ironing! Some people choose to spray their fabrics' backsides with a sticky substance that allows for adhering and then changing one's mind, and removing, and possibly re-adhering in a different location. I prefer to iron Wonder Under or a similar product onto the back of each piece since it all needs to be ironed anyway, and then I store (with the protective paper on) all the unused pieces from this and former projects for future use. That provides a lot of cool bits which are ready to incorporate at the drop of a hat. The picture shows lots of small pieces I've finished Wonder-Undering. Then Step 4, the cutting and arranging the fabrics onto a ground fabric. In this case, I selected a piece of white canvas as a starting point. (Yes, painters' canvas.) Working from the images I have in mind, I begin to build the composition. This will take days. Here we have the nascent stage.


 Several people who do not work with textiles have asked that I post the steps I use in making an art quilt. I began one yesterday so thought this might be a good opportunity to do that. Here are some ideas about Steps One and Two. First, I conceive of an idea: like water issues, early human communication systems, or a color combo I want to play with. In this case, I was looking at some 2Oth Century abstract expressionist art and decided I wanted to lay down a colorful ground then add strong black marks on top. Some doodles show a couple of ideas for the marks. Then I began to think about the fabrics - Step Two. I have a large stash of cottons I have dyed, screen printed, soy wax batiked, painted, etc, etc., so I began going through those and selecting some in the general colors I have in mind. I also delved into some commercial fabrics I just happen to have (!) which match well with them. That was a day's work.
 Who'd'a thunk . . . I woke up this morning with a song in my heart (could be the weeks of heavenly autumn weather finally breaking through) and a paint brush in my hand. Have a whole new series in mind which came together as a result of putting that colorful wet stuff on canvas. Has anyone else noticed that canvas is a textile???
 The Tree of Life has been a recurring theme in my work forever and here is appears again in tile on the wall next to our front door in the breezeway. We've been working on it off and on for more than two years. Not perfect, but it shows the hand of the makers. Thanks to Judith, Jeff, Robyn and Jessica for helping get it up. It feels like a blessing on our home.

 The Hubster was on a backpack in the Sierras last week and I cranked! Worked 'round the clock - so much fun. Here are some goodies I completed. The Copper Ground Cloth will probably be the basis for an embroidery though I like it enough to just let it be; time will tell. Santa Anas is just pieced with a lot of the hand dyes and prints I've generated in the last year or so. Could be the beginning of a hot summer wind series . . . Nice to put all these bits to use.
 Hint: They converge in Birmingham, England; Pfizer Labs in NYC; Quilt Visions in San Diego; and at the Center For Disease Control in Atlanta over the next two years. My piece, Wood Cells, seen here, is part of this international exhibit. The entire show can be viewed online at http://www.saqa.com/store.php?cat=22 Some mighty fine work!!

 This is a piece I've been working on slowly over the last eight months, or so. Finally finished. It's done on felt, screen printed, then stitched. There are lots of cool goodies couched onto the surface. I just mounted it on stretched canvas as it's going off to the framer tomorrow for a very simple black (red?) frame.
 This is a fun piece I did a few months ago and just photographed today for the website. Enjoy!!
 Last day of the Alternative Media class. This is my final piece - all about texture and metallic surface. There's stitching hidden in the crevices though not much. I'm taking it to the framer tomorrow so it will have an edge, not just disappear into the wall. All and all a pleasing experience which I'd recommend to anyone close enough to Palos Verdes for a class with Jill Keifer to make sense!
 Here's a small piece I did in the class I'm taking at the Palos Verdes Art Center. Besides the Tyvek (which I taught the others) there's crackle paint - turquoise with copper and gold over. The class focuses on work on canvas but as I always say: canvas is a textile, so I did this piece on a bit of cotton, not stretched, backed by felt for stability. I may frame it to clean up the edges. My favorite item in the course at the moment is plaster cloth. Yes, it can be easily needled!
 I'm working on the next four pieces in this series. Cloth - Roses is an example of where I begin with dyeing and over-dyeing. I will try to post various stages in its development.

 Jessica, aged 10, has been working on the multi-colored rug on my big Glimakra floor loom for well over a year. We have decided that she will be done this summer! She's been tying rya knots. Next up, I'm going to teach her how to weave tapestry. She comes once/week and is a joy to have around with her creative imagination and story telling talents.
 |
 |
| Personalize a slideshow |
 I've been doing some joomchi (Korean mulberry paper felting) again lately as I've been invited to submit some work for consideration for a show in Korea (!). This is my favorite of the new pieces. It represents hours and hours of rubbing by hand. The previous piece I made I threw in the dryer three times just to avoid getting worse arthritis! It got all beat up so of course I stitched into it and made a collage. This one is a bit more delicate.

 Got my piece done for the Art Cloth Network's 2010 challenge: Very different from my usual work. A bit Asian, yes??? It's 80" long which is why it's all over the ground. No other place to photograph it till it's properly hung in the gallery!
 Turns out I hadn't posted that bit of painted aluminum last week after Jill's class, so here it is.


+copy.jpg)